How to Set Up a Stereo Camera on Raspberry Pi 5 for Depth
Updated: 16 hours ago
To build a stereo camera Raspberry Pi 5 rig, mount two identical MIPI CSI cameras on a rigid bar and plug them into the Pi 5's two camera ports. Capture both streams with Picamera2, calibrate the pair with OpenCV, and compute depth from the disparity between the left and right images. The Pi 5 has two camera connectors on the board, so you do not need a second computer or a splitter.
The wiring is the easy part. The hard parts are choosing cameras that behave identically, keeping the two frames close in time, and calibrating well enough that the depth numbers mean something. Mismatched sensors, drifting autofocus and a flexing mount are the usual reasons for a noisy depth map. If you also want a Raspberry Pi 5 4K camera setup, you have to plan for processing load too.
This guide covers four steps: choosing cameras, mounting and connecting them, capturing synced pairs, and calibrating for depth. I use Vadzo Imaging's MIPI CSI-2 modules as examples. Vadzo builds them with driver support for Raspberry Pi 5, and they include 13MP and 20MP options. The code and method work with any compatible camera.
What you need for stereo vision on the Raspberry Pi 5 Camera
You need a Raspberry Pi 5, two cameras with the same sensor and lens, two cables that fit the Pi 5's connectors, a rigid mount, and Raspberry Pi OS with Picamera2 and OpenCV. Depth comes from simple geometry, so it helps to know it before you buy anything.
How stereo depth works
Each camera sees an object at a slightly different horizontal position. That shift is the disparity. Depth is Z = f × B / d, where f is the focal length in pixels, B is the distance between the cameras (the baseline), and d is the disparity in pixels.
Take f = 1000 px and B = 60 mm. An object with 20 px of disparity sits at 1000 × 60 / 20 = 3000 mm, or 3 m. Disparity shrinks as distance grows, so far objects get coarse depth steps.
A wider baseline and a longer focal length in pixels both give you finer depth at range.
Hardware and software checklist
Raspberry Pi 5. Its two connectors are 22-pin, 0.5 mm pitch, and each can carry a 4-lane MIPI camera.
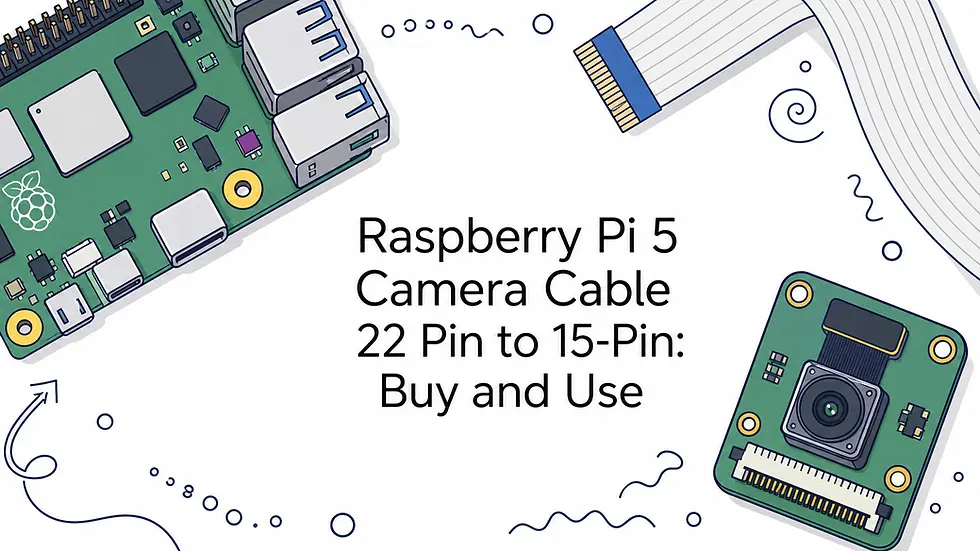
Two cables. Older Pi cameras use a 15-pin cable, so they need a 15-pin to 22-pin cable on the Pi 5.
Two matched cameras. Same sensor, same lens, same field of view.
A rigid bar. Aluminum extrusion or a printed bracket works, as long as it does not flex.
A checkerboard. Print it and glue it to a flat, stiff board for calibration.
Raspberry Pi OS, Bookworm or newer. Install Picamera2 and OpenCV with sudo apt install -y python3-picamera2 python3-opencv.
Step 1. Choose two matched cameras
Pick two units of the same model, and prefer fixed focus or a locked focus position. If the focus moves, the effective focal length changes and your calibration stops being valid.
What to match
Match the sensor, lens, field of view, color or mono type and exposure settings. Buy both cameras together so they come from the same batch. For moving scenes, a global shutter sensor avoids the skew that rolling shutters add. Rolling shutter cameras work fine for static scenes and slow motion.
Camera options compared
Camera | Sensor | Max resolution | Shutter | Focus |
|---|---|---|---|---|
onsemi AR1335 | 13MP | Rolling | M12 lens | |
onsemi AR0234 | 2MP | Global | VCM autofocus (lock it) | |
onsemi AR2020 | 20MP | Rolling | M12 lens |
On Module 3 you can set a fixed focus with the LensPosition control. A pair of Bolt-1335CRS boards starts at $165 each, so from $330 before any lens and cable you need. The Bolt-234CGH starts at $190 and the Bolt-2020CRS at $255. Vadzo has no minimum order quantity, so a single pair is fine.
Where 4K fits on the Pi 5
A 4K-class sensor works as a stereo camera on the Pi 5, but do not run the depth pipeline at full resolution. The Pi 5 has no hardware H.264 encoder, and block matching on millions of pixels is heavy for the CPU. Run depth at 720p or 1080p. Use the 4K or 13MP mode for still captures where you need detail, such as inspecting an object after the depth map locates it.
Choose matched, fixed-focus cameras first and resolution second, because calibration quality limits depth accuracy more than megapixels do.
Step 2. Mount and connect both cameras
Mount both cameras on one rigid bar, facing the same direction, at the same height, with parallel optical axes. Then connect each to its own CSI port with the Pi powered off.
Mount the cameras
Fix the baseline before you calibrate and never change it afterward. A baseline of 50 to 100 mm suits objects within a few meters. A wider bar sees farther but has a larger minimum distance, because very close objects fall outside the overlap of both views. Tighten everything, since even a small twist changes the calibration.
Connect and verify
Shut down the Pi and unplug power.
Lift the latch on CAM/DISP 0, seat the cable fully, and push the latch down.
Repeat on CAM/DISP 1 with the second camera.
Boot and run the check below.
rpicam-hello --list-cameras rpicam-hello --camera 0 -t 5000 rpicam-hello --camera 1 -t 5000
The list should show two cameras with index 0 and 1. If one is missing, reseat the cable and flip it over, because the contacts must face the connector pins. Third-party sensors need their driver and a device tree overlay in /boot/firmware/config.txt. Follow the integration guide for your module. Vadzo ships sample applications and integration guides with every evaluation unit.
If --list-cameras does not show both sensors, fix that before writing any stereo code.
Step 3. Capture synchronized frame pairs
Open both cameras in Picamera2, lock exposure and gain so both images look alike, and pair frames by sensor timestamp. A Pi 5 stereo camera setup has no hardware sync by default, so timestamps are how you keep the pair honest.
Configure both cameras
Auto exposure can pick different values for each camera, which hurts matching. Set a fixed exposure and gain on both, using values that suit your lighting.
import time from picamera2 import Picamera2 SIZE = (1280, 720) cams = [Picamera2(0), Picamera2(1)] for cam in cams: cam.configure(cam.create_video_configuration( main={"size": SIZE, "format": "RGB888"}, controls={"FrameRate": 30, "AeEnable": False, "ExposureTime": 8000, "AnalogueGain": 2.0})) cam.start() time.sleep(1)
Pair frames by timestamp
Each frame carries a SensorTimestamp in nanoseconds. Grab one frame from each camera and keep the pair only if the gap is small.
def grab(cam): req = cam.capture_request() frame = req.make_array("main") ts = req.get_metadata()["SensorTimestamp"] req.release() return frame, ts def grab_pair(max_gap_ms=10): while True: left, t0 = grab(cams[0]) right, t1 = grab(cams[1]) if abs(t0 - t1) < max_gap_ms * 1e6: return left, right
At 30 fps a frame lasts about 33 ms, so a 10 ms limit rejects pairs that are a frame apart. Software pairing works for static scenes and slow motion. For fast motion, use global shutter sensors. You can also ask Vadzo's application engineers about synchronized capture options.
Lock exposure on both cameras and reject any pair whose timestamps differ by more than a few milliseconds.
Step 4. Calibrate and compute depth
Calibrate with a checkerboard so OpenCV knows each camera's lens model and the position of one camera relative to the other. Then rectify the images and run a block matcher to get disparity.
Calibrate the pair
Print a checkerboard and mount it flat on a stiff board. Measure one square precisely.
Capture 20 to 30 pairs with grab_pair(), moving the board to different distances, angles and image corners.
Detect corners in each image with cv2.findChessboardCorners.
Run cv2.calibrateCamera on each camera, then cv2.stereoCalibrate with the CALIB_FIX_INTRINSIC flag.
Check the reprojection error. Aim for under about 0.5 px, and redo the capture if it is higher.
Rectify and compute depth
Rectification warps both images so matching points sit on the same row. After that, StereoSGBM finds the disparity.
import cv2 import numpy as np # K1, D1, K2, D2, R, T come from cv2.stereoCalibrate R1, R2, P1, P2, Q, _, _ = cv2.stereoRectify(K1, D1, K2, D2, SIZE, R, T) m1x, m1y = cv2.initUndistortRectifyMap(K1, D1, R1, P1, SIZE, cv2.CV_32FC1) m2x, m2y = cv2.initUndistortRectifyMap(K2, D2, R2, P2, SIZE, cv2.CV_32FC1) sgbm = cv2.StereoSGBM_create(minDisparity=0, numDisparities=128, blockSize=5, P1=8 * 25, P2=32 * 25, uniquenessRatio=10, speckleWindowSize=100, speckleRange=2) left, right = grab_pair() gl = cv2.cvtColor(cv2.remap(left, m1x, m1y, cv2.INTER_LINEAR), cv2.COLOR_BGR2GRAY) gr = cv2.cvtColor(cv2.remap(right, m2x, m2y, cv2.INTER_LINEAR), cv2.COLOR_BGR2GRAY) disp = sgbm.compute(gl, gr).astype(np.float32) / 16.0 depth = cv2.reprojectImageTo3D(disp, Q)[:, :, 2]
Depth comes out in the units of your checkerboard measurement, so use millimeters throughout. Precision follows the formula from earlier. With f = 1000 px and B = 60 mm, a 1 px error at 20 px disparity moves the result from 3000 mm to 1000 × 60 / 21 ≈ 2857 mm, about 14 cm. A higher-resolution sensor raises f in pixels, which tightens that error. If the Pi struggles, downscale to 640 x 360 and recalibrate at that size.
Calibration at the exact resolution you run matters more than any matcher setting, so recalibrate whenever you change size, focus or baseline.
Build the rig, then tune it
A working stereo camera on the Raspberry Pi 5 comes down to a short list: two matched fixed-focus cameras, a rigid bar, both CSI ports verified, locked exposure with timestamp pairing, and a careful checkerboard calibration. Get those right at 720p first. Add 4K or 13MP stills once the depth map looks stable.
If you want 4K-class MIPI modules with Raspberry Pi 5 driver support, or a custom board, lens or synchronization setup for a product, talk to Vadzo's camera team about your stereo project.